


Rucking Recommendations: How to Improve Ruck Times and Avoid Lower Back and Knee Joint Pain
By Carson Fralin, O2X Integrated Specialist - West Palm Beach Fire Department
Rucking, the practice of walking or hiking with a weighted backpack, is a long traditional form of training in tactical populations and has grown in popularity among fitness enthusiasts and outdoor adventurers. While it offers impressive cardiovascular and strength benefits, rucking can also pose risks to the lower back and knee joints if not approached thoughtfully. This comprehensive guide provides professional recommendations to help you improve your ruck times while minimizing the risk of joint pain in these vulnerable areas.
Understanding the Demands of Rucking
Rucking challenges your body in unique ways, combining the endurance of hiking with the resistance of carrying extra weight (i.e. Load Carriage). The added load increases stress on your spinal extensors, abdominal muscles, and hip flexors. If not managed properly, the added stress can lead to overuse injuries or chronic pain. Improvement in ruck times requires not only cardiovascular and muscular conditioning but also a smart approach to technique, gear selection, and recovery.
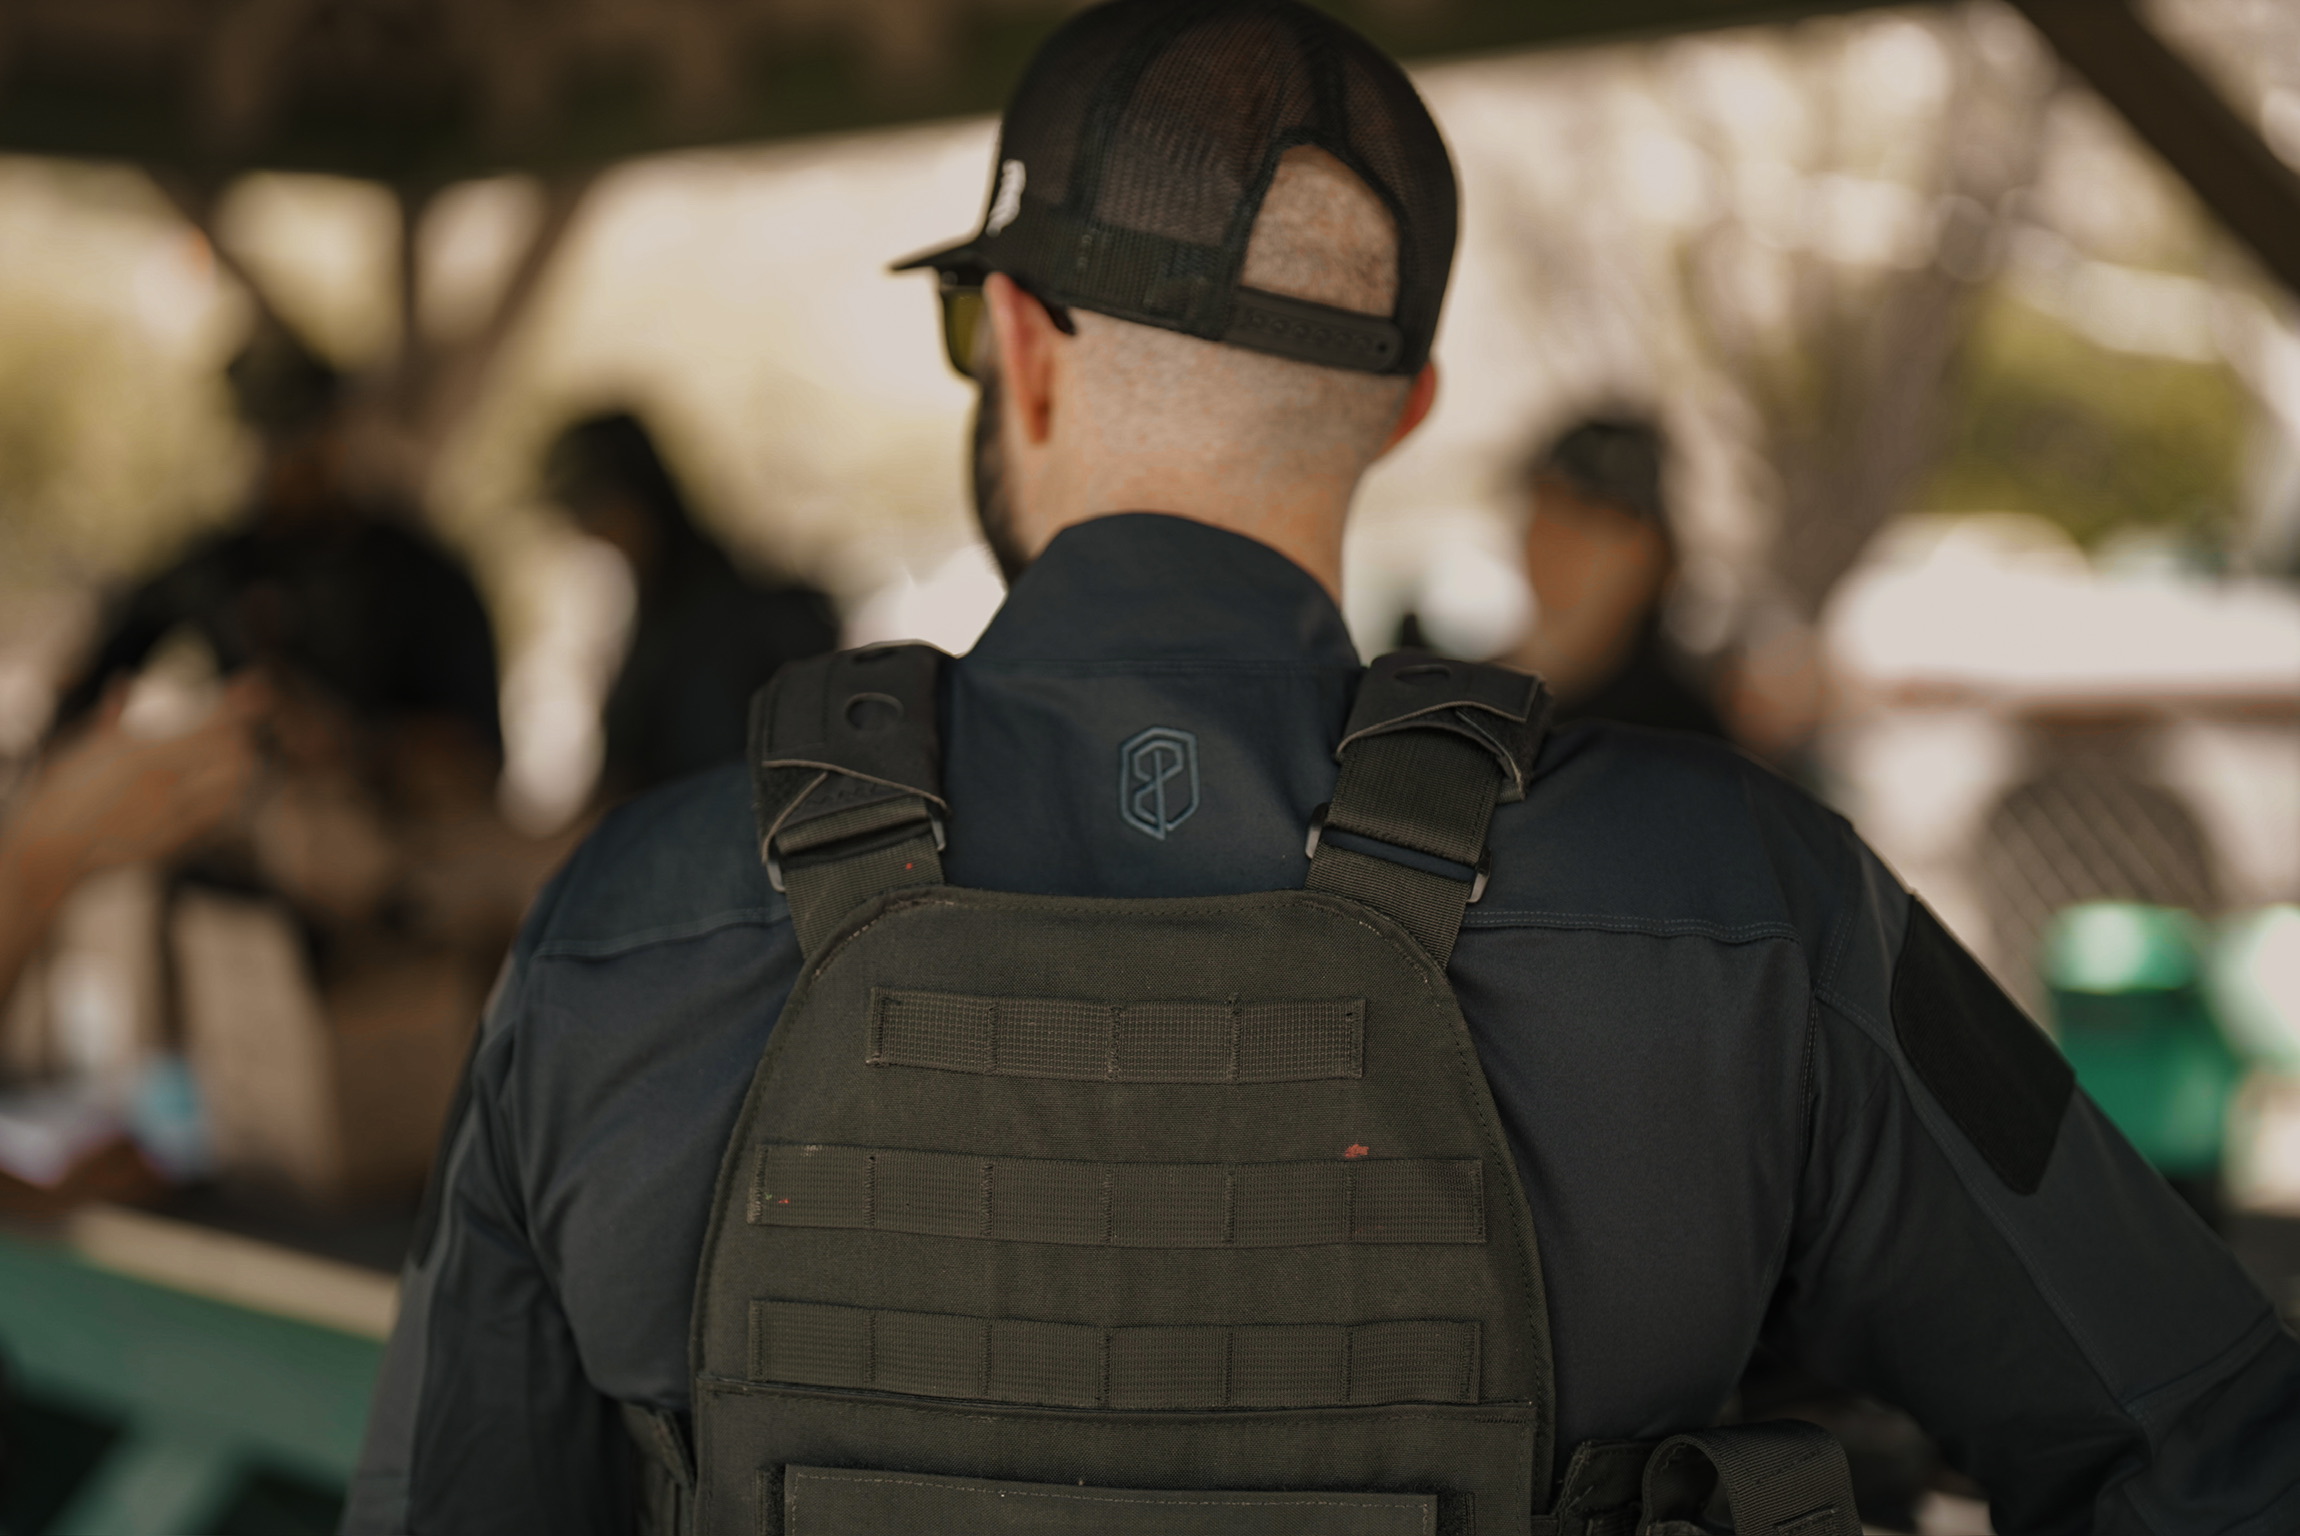
Choosing the Right Rucksack and Load
Your gear plays a critical role in both performance and injury prevention. Select a rucksack that fits snugly against your back, with adjustable, padded shoulder straps and a wide, supportive hip belt. The hip belt should transfer the majority of the pack’s weight from your shoulders to your hips, reducing strain on your lower back. Start with a manageable weight, typically 10%-20% of your body weight and gradually increase the load as your strength and endurance improve.
Ensure the weight is distributed evenly and packed close to your center of gravity. Avoid letting the rucksack sag or bounce, as this can cause imbalances, leading to compensatory movements that stress the knees and lower back. Use compression straps to secure the contents and minimize shifting during movement.
Optimizing Rucking Technique
Proper form is essential for efficient, pain-free rucking. Stand tall with your shoulders back and down, core engaged, and gaze forward rather than down at your feet. Avoid excessive forward lean, which can overload the lower back. Take shorter, quicker steps to reduce impact forces on your knees, and maintain a steady rhythm. Pay attention to your foot strike. Aim for a mid-foot landing rather than a heavy heel strike, as this helps disperse forces more evenly through the lower extremity joints.
Injury Prevention and Performance
Using resistance training to help strengthen the lower body can help reduce the occurrence of overuse injuries and improve rucking performance. Significant correlations have been found between squat strength, vertical jump performance, and marching capacity under load (2). As such, programming should include developing posterior chain muscles using deadlifts and other hinging variations as well as anterior chain development emphasizing eccentric quadricep strength via split squats and step downs. The eccentric focus will help with managing braking forces, especially when moving downhill. Incorporate exercises that target the muscles that act on your spine, hips, and legs such as core, glutes, hamstrings, quadriceps, and calves. Some effective movements include:
- Farmer and Suitcase Carries: Strengthen the spine muscles, especially when using single arm variations.
- Planks and Side Planks: Enhance core stability and can be done with additional weight.
- Squats, Deadlifts, and Lunges: Develop lower body strength and functional control.
- Hip Thrusts and Glute Bridges: Strengthen glutes to support the pelvis and lower back.
- Weighted Step-Ups and Calf Raises: Improve lower leg strength and balance.
Loaded Carries: 30 Minutes (Unbroken)
Switch between exercises without resting.
- Plank - 1 minute
- Reverse Sled Drag (40% body weight) - 1 minute
- Suitcase Carry - 1 minute each arm
Try the workout above as it simulates a ruck while putting more emphasis on the muscles used in rucking. The aim of this workout is to keep the intensity around 70% of max heart rate which improves aerobic fitness but the movements provide a stimulus to improve strength of the core and lower body.
Don’t just focus on one. Using concurrent resistance and endurance training has shown greater improvements in ruck performance than training only one of these (1). Additionally, pairing resistance training and aerobic training sessions roughly three times per week has shown to build resilience and reduce overuse injury risk during load carriage sessions (3).
Progressive Overload and Training Structure
To improve your ruck times safely, apply the principle of progressive overload: gradually increase the weight, distance, or pace of your rucks. Avoid sudden spikes in intensity, as rapid increases in load or distance are common culprits for overuse injuries in the back and knees. You may even find greater returns focusing on manipulating weight, pace, and terrain without having to commit to longer distances. Don’t underestimate the effect adding hills to your route will have on increasing intensity. Plan your training schedule to include a mix of shorter (2 – 3 miles) rucks with a heavier pack (45 – 75lbs) and another with less weight (25 – 35 lbs) but with a lot of hills and elevation. Always allow at least one full rest day between hard rucking sessions to facilitate recovery and adaptation.
Training Plan
Week 1
Distance: 2 miles
Terrain: Flat
Load: 35 lbs
Pace: 15:00 min/mile
Week 2
Distance: 2 miles
Terrain: Hills
Load: 35 lbs
Pace: 15:00 min/mile
Week 3
Distance: 3 miles
Terrain: Flat
Load: 35 lbs
Pace: 15:00 min/mile
Week 4
Distance: 2 miles
Terrain: Flat
Load: 45 lbs
Pace: 15:00 min/mile
Also consider that you don’t need to ruck every other day. In fact, you can progress ruck times rucking once per week and could help lower the risk of developing an overuse injury.
Footwear and Surface Selection
Choose footwear with adequate cushioning, arch support, and a firm heel counter. Well-fitted boots or trail shoes designed for load-bearing activities can help absorb shock and provide stability. Replace shoes that show signs of excessive wear, especially in the midsole or tread, as worn-out footwear can compromise your gait and increase joint stress.
Whenever possible, ruck on varied, softer surfaces like grass, dirt trails, or gravel rather than hard concrete. Softer surfaces reduce impact forces transmitted to the knees and back, while uneven terrain challenges stabilizing muscles, enhancing functional strength and proprioception.
Recovery Strategies
Recovery is as important as the training itself. After each ruck, cool down with light walking and static stretching of the shoulders, mid to lower back, hips, hamstrings, and calves. Consider using foam rollers or massage tools to alleviate muscle tightness and promote circulation. Stay hydrated and consume a balanced meal with carbohydrates and protein within two hours post-exercise to support muscle repair and glycogen replenishment.
Conclusion
Rucking can be a rewarding and effective way to enhance overall fitness, resilience, and mental toughness all while improving your ability to operate in gear. By selecting appropriate gear, optimizing your technique, strengthening key muscle groups, and respecting the principles of progressive overload and recovery, you can improve your ruck times while minimizing the risk of lower back and knee joint pain. Remember, consistency and patience are essential, progress will come with smart, disciplined training and attentive self-care.
References:
- Kraemer, WJ; Vescovi, J; et al. Effects of concurrent resistance and aerobic training on load-bearing performance and the Army Physical Fitness Test. Military Medicine 169(12): 994-999, 2004.
- Orr, RM; Knapik, JJ; et al. The relationship between lower-body strength and load carriage performance: A systematic review. Journal of Strength and Conditioning Research 33(11): 3298-3308, 2019.
- Orr, RM; Pope, R; et al. Load Carriage for the tactical operator: Impacts and conditioning – A review. Journal of Strength and Conditioning Research 26(S2): S101-S106, 2012.
About O2X Integrated Specialist Carson Fralin:
Carson Fralin is an O2X On-Site Human Performance Specialist specializing in Strength and Conditioning with the West Palm Beach Fire Department. In this role, Carson designs and implements performance programs that enhance the physical readiness and resilience of first responders, ensuring they are prepared to meet the demands of their critical work while reducing the risk of injury.Before joining O2X, Carson served under the U.S. Army’s Holistic Health and Fitness (H2F) program with the 82nd Airborne Division. Embedded as a Strength and Conditioning Coach within the 2nd Battalion of the 504th Paratrooper Infantry Regiment, he advised officers and NCOs on optimizing physical training for combat readiness. Carson also specialized in preparing soldiers for selection schools, including SOAR 160th, SFAS, Ranger, Civil Affairs, and PSYOPS, while developing recovery programs to rehabilitate and reintegrate soldiers after their selection processes. Earlier in his career, Carson was the Head Strength and Conditioning Coach at Midlothian Athletic Club, where he worked with FC Richmond Soccer, the Richmond Generals Ice Hockey teams, and local fire stations in Chesterfield County, VA.Carson earned both his Master’s in Kinesiology and Exercise Physiology and his Bachelor’s in Exercise Science from Virginia Commonwealth University. He is deeply passionate about supporting the health and performance of those who serve their communities and the nation. Outside of work, Carson enjoys staying active and continues to contribute to initiatives that improve the safety and quality of life for tactical and first responder populations.